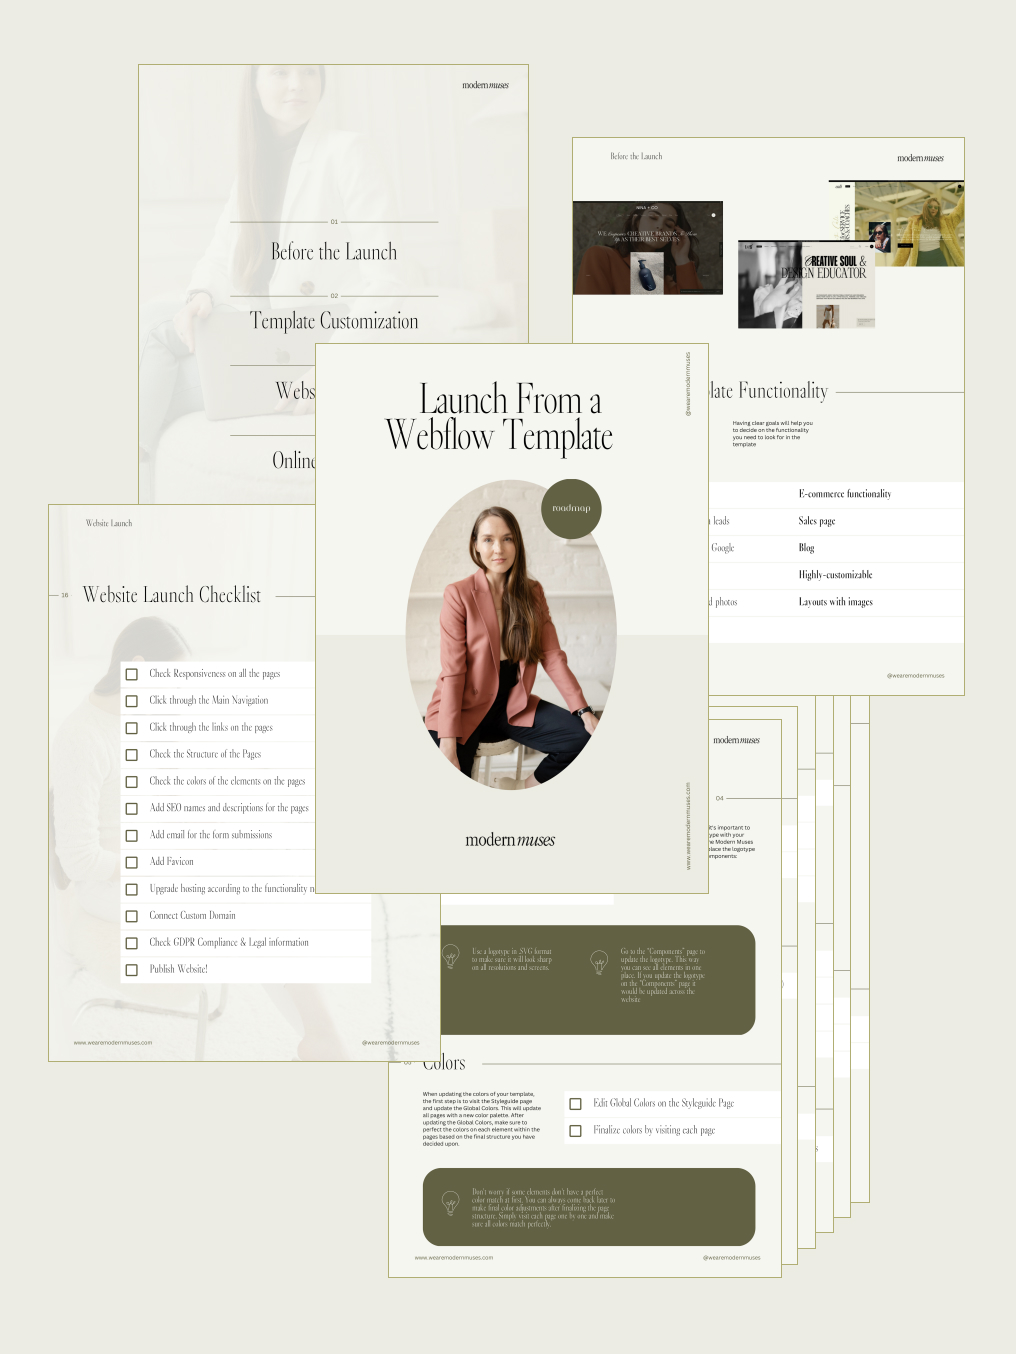
“Is it easy to customize a Webflow template?” This is the most often question I am receiving. And there is no one answer, it depends on the level of your Webflow skills and the number of things, you would like to change. I put together the list with the minimum steps necessary to turn a Webflow template into a branded website.
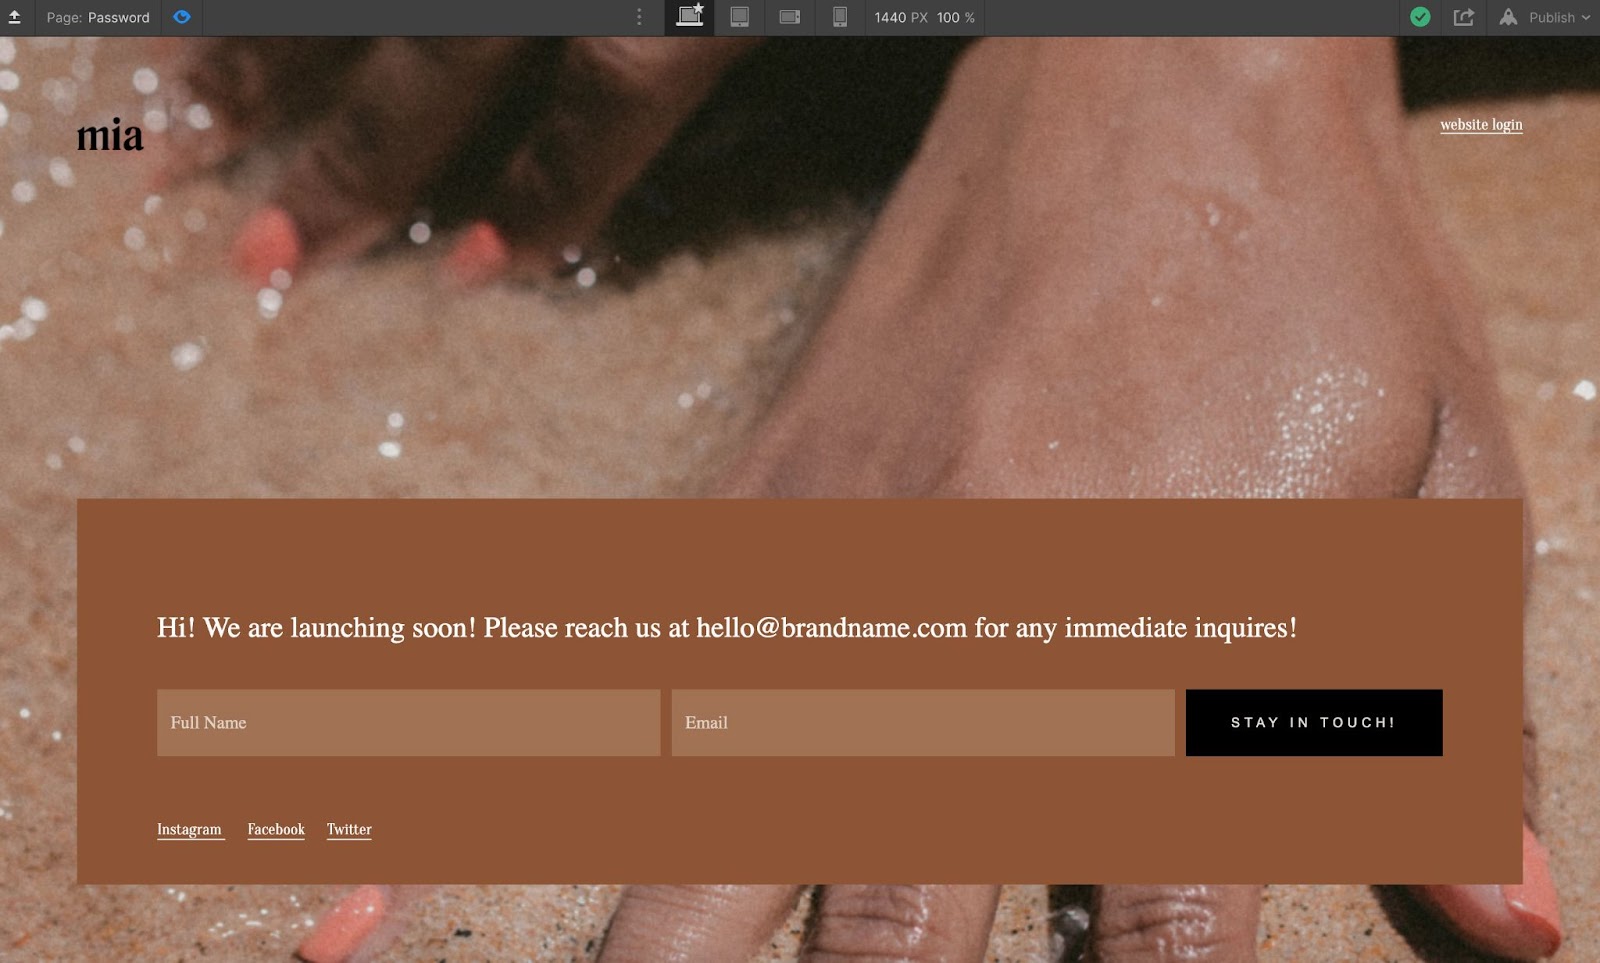
Activate Coming Soon Page
The first thing you should do once you start working on your website is to activate the Coming Soon (Password) Page. You can do it inside the Project Settings under the Tab General. Find the section called Website Password and turn it on. It will help you protect the “work in progress” project until the moment when you are ready to launch.
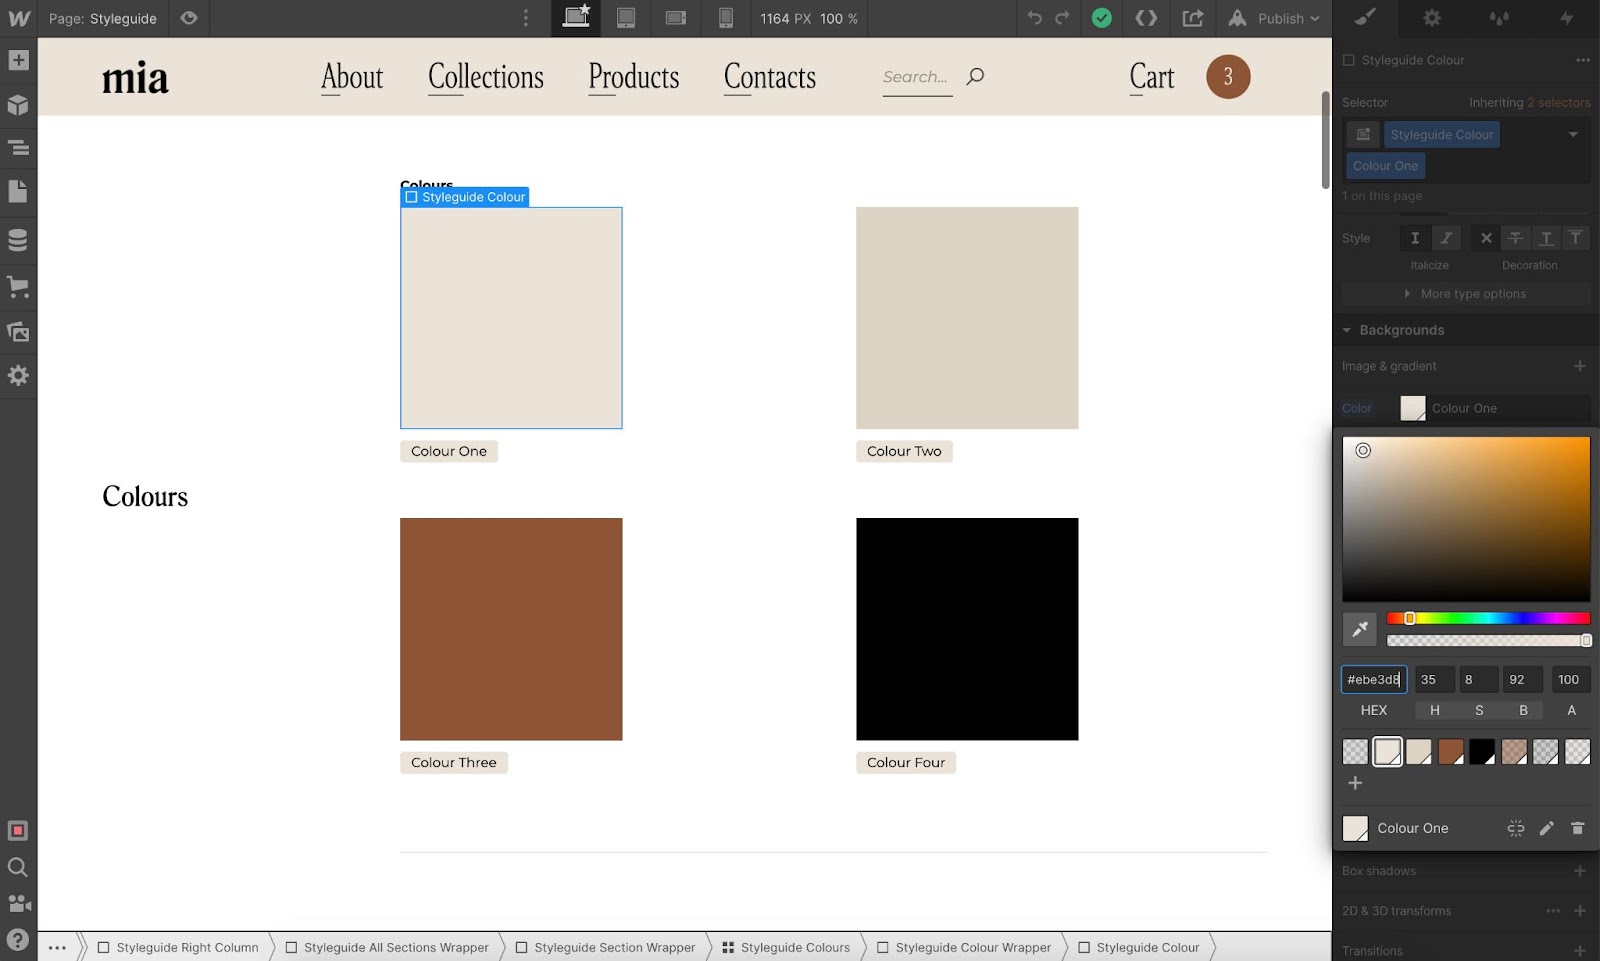
Go to the Styleguide Page
Every Zerocodegirl Webflow template would have a Styleguide that includes colours, styles for texts, links, buttons etc. To customize it you will need to find the page called Styleguide and update elements with your brand colors, fonts, and styles. You can find the Styleguide Page inside the folder named Template.
Customize Colours
Replace template default colors with your brand colors. Make sure you are customizing Global Colours by clicking the edit icon on the color palette.
Custom Fonts
To upload custom fonts you need to go inside the Project Settings and find the tab Fonts. Under this tab, you can easily connect Google Fonts or upload custom fonts.
Setup the main font for all the pages
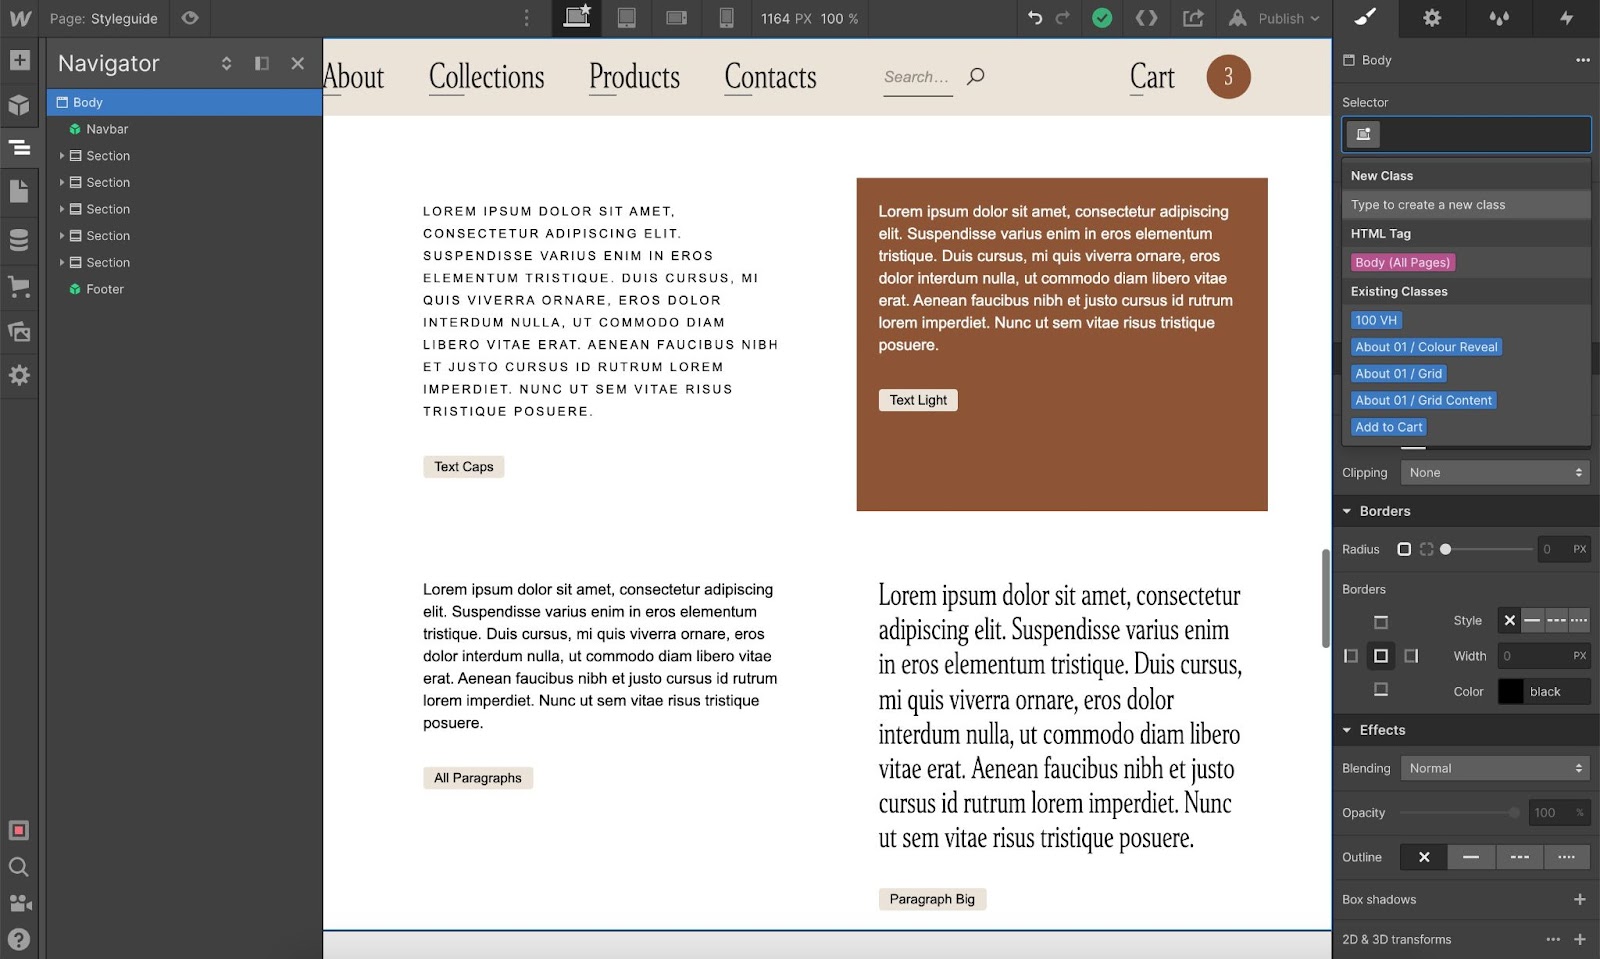
To make sure the main font is consistent across all the pages, select the Body in the Navigator, click on Select a Class or Tag and choose the root tag Body (All Pages), it would be highlighted in purple. When you select it, the font settings would be updated for all the pages.
Customize Headings
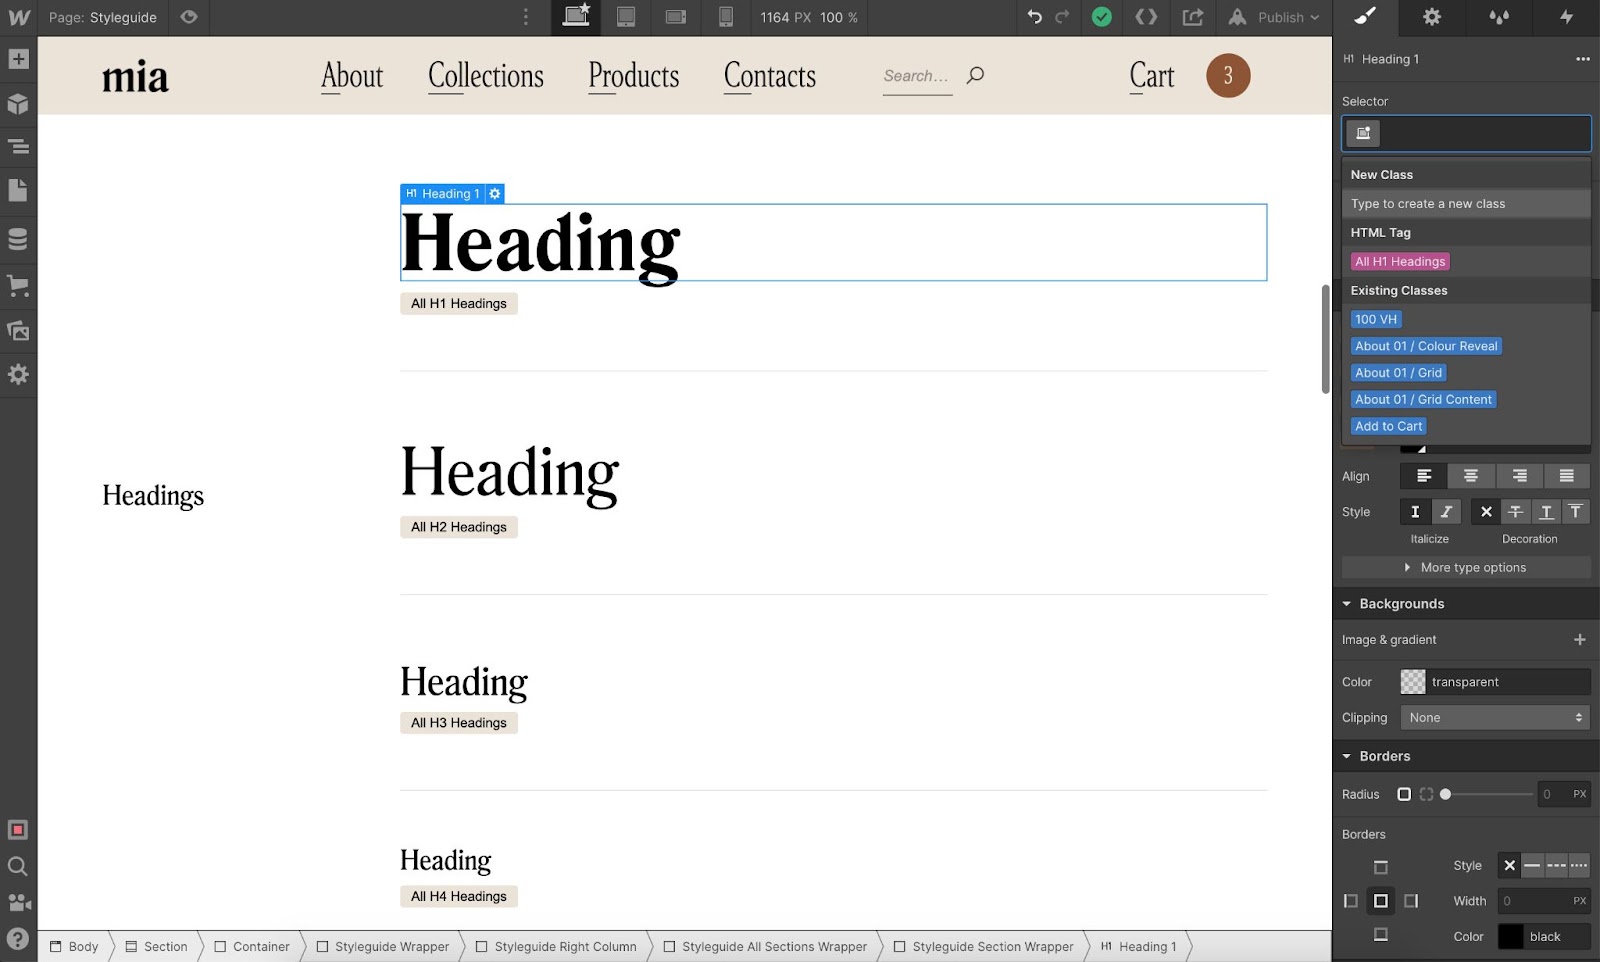
Click on Select a Class or Tag and Select the root tag, it would be highlighted in purple. Once you’ve done it means that you are changing all the titles across the website not only the current one.
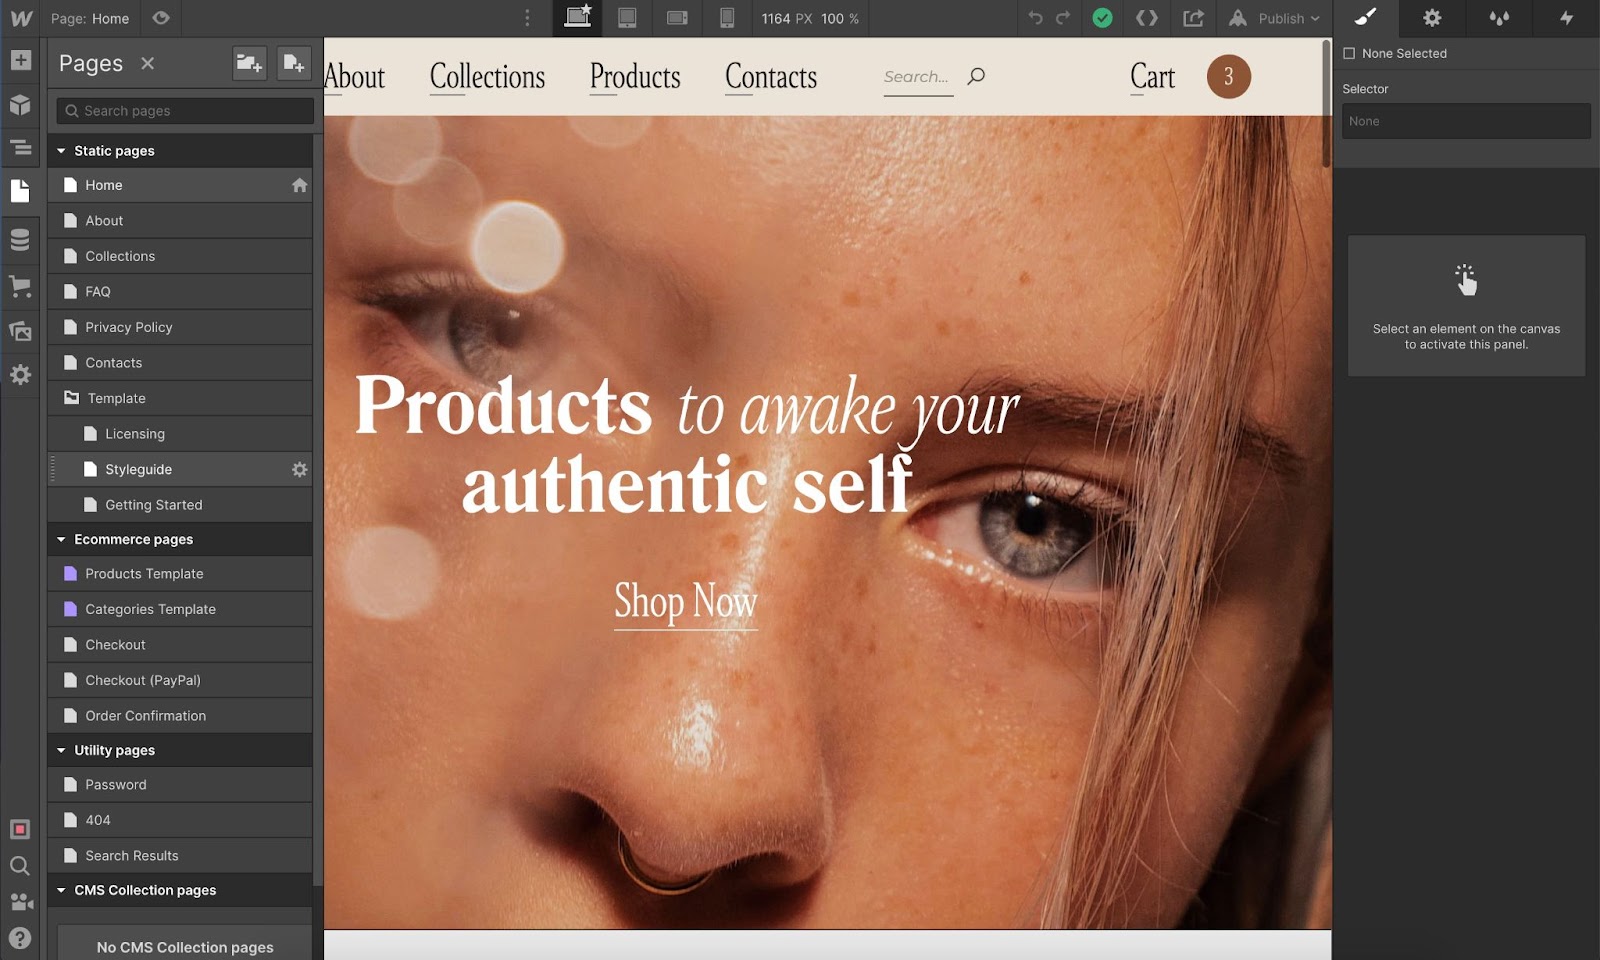
Remove or Hide Extra Pages
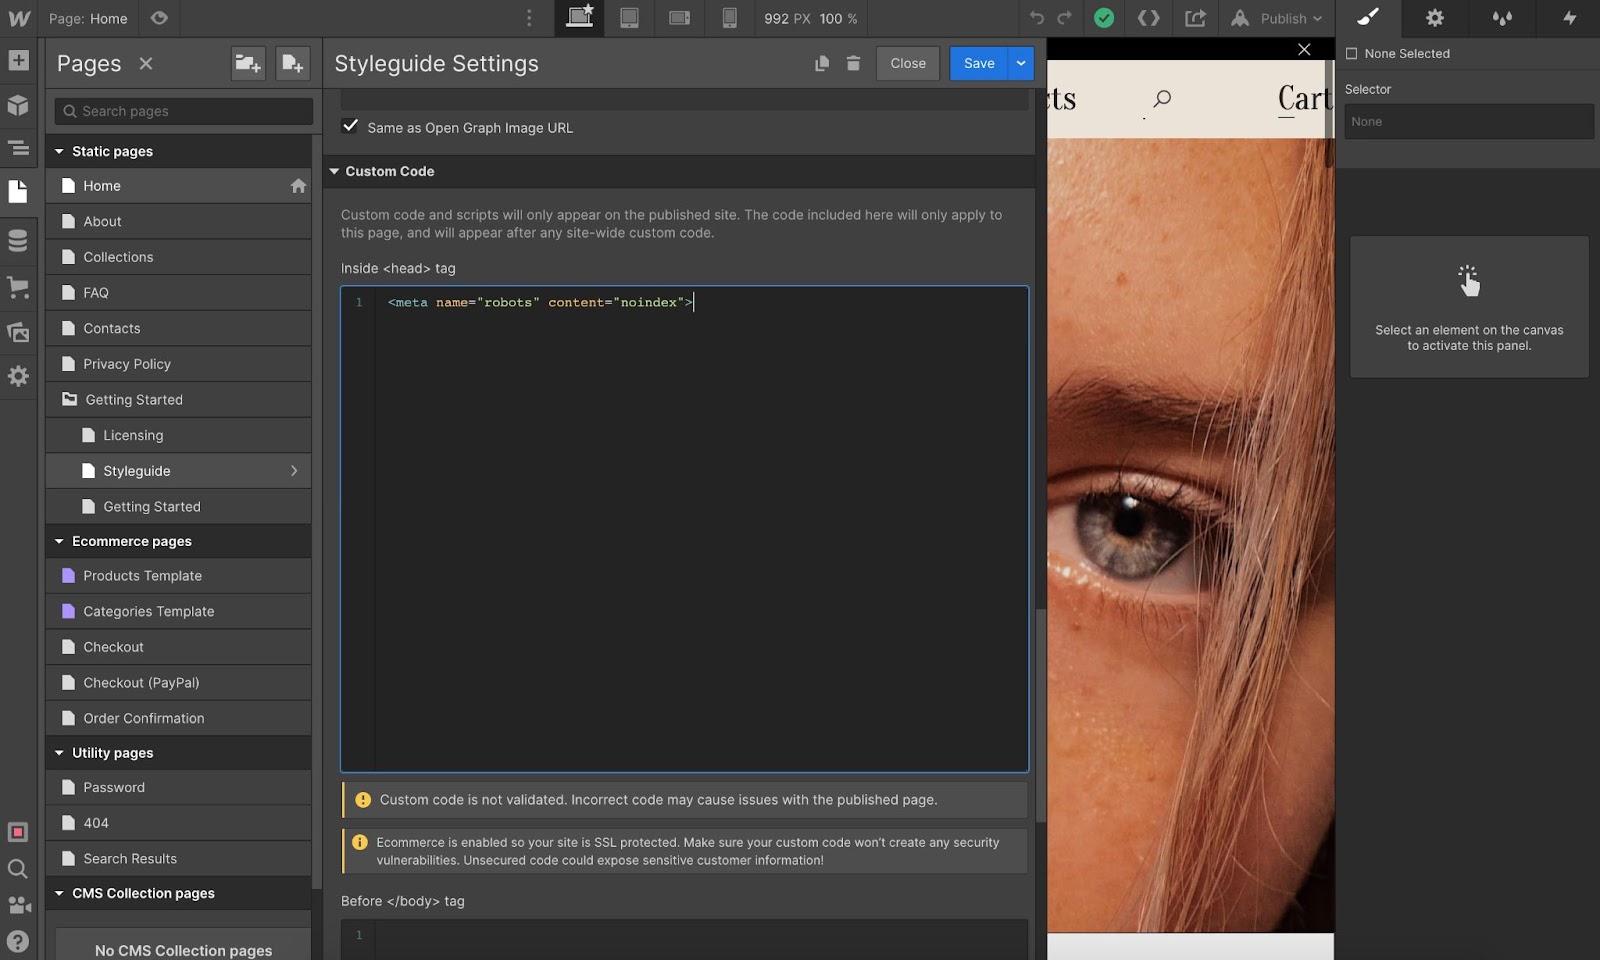
Even if you don’t need some of the template pages, you shouldn’t delete them straight away. You can use them as building blocks or to assemble new pages. Just make sure you unlink the onse you don’t need from the main menu and remove all links from other places. If you don’t want them to be found by the Search Engines you should add a simple line <meta name="robots" content="noindex"> to the Custom Code area Inside <head> tag.
Replace Static Images
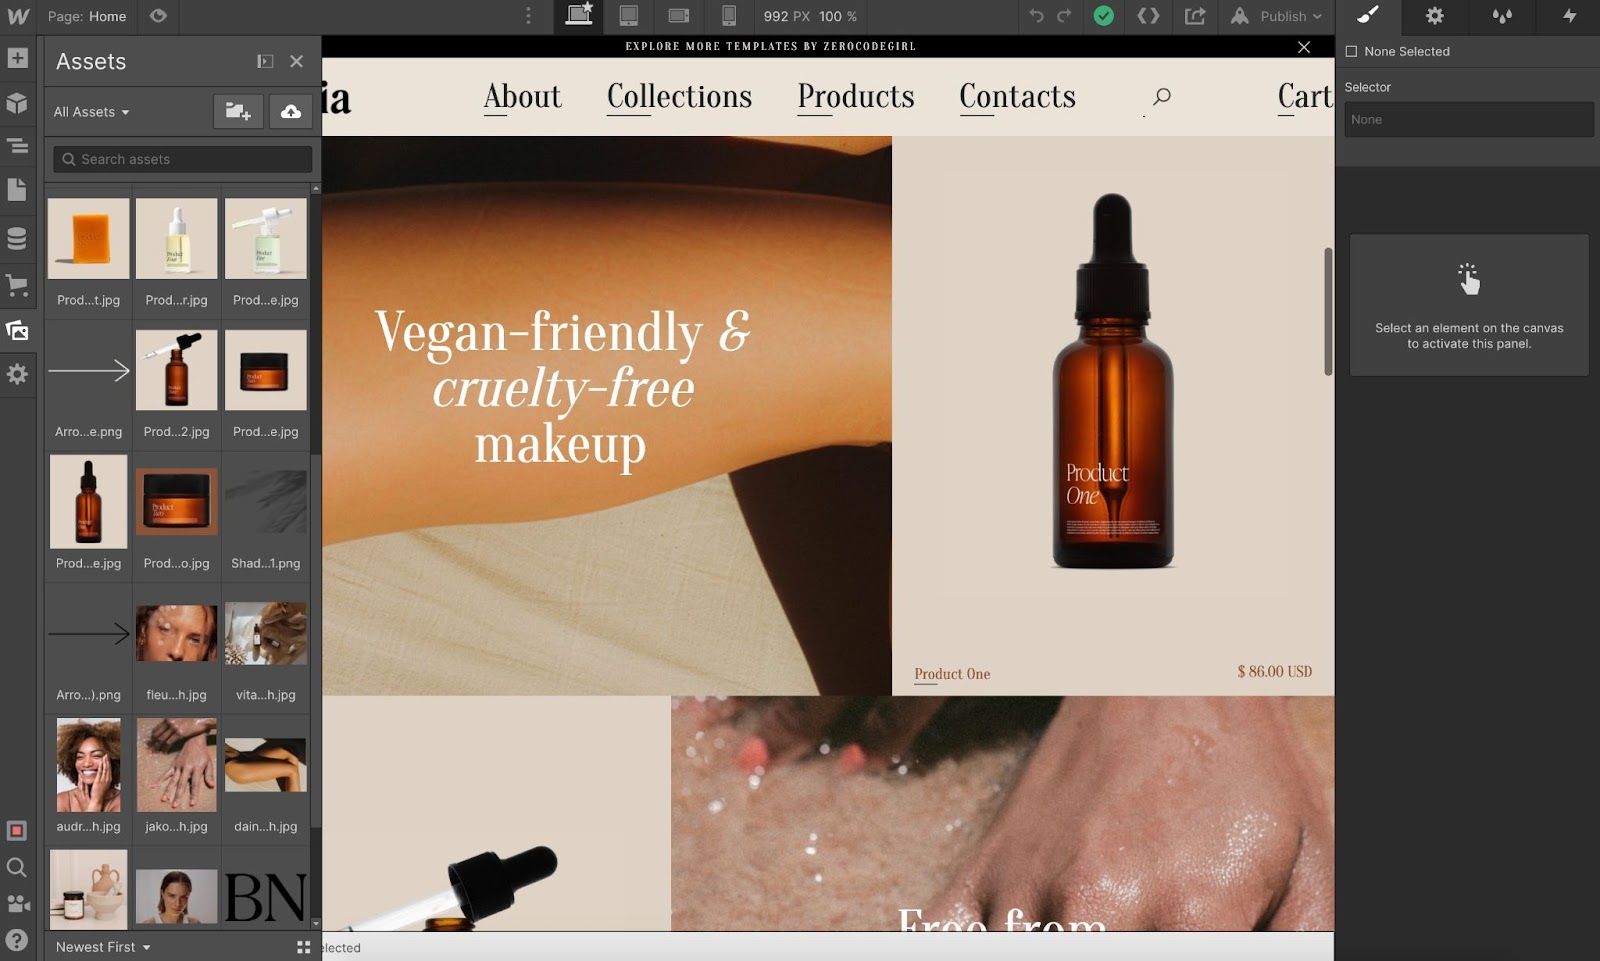
Static images and texts mean that they are not coming from the CMS or Ecommerce and could be updated simply by replacing them on the pages. Before you upload images to your Webflow website, make sure they all are optimized. You can learn more about how to optimize your image in the Website Launch Checklist post. I would recommend uploading all images you are planning on using on your website at once. Once you have them in the Assets, you can easily replace them and find the better-fitted ones for your content.
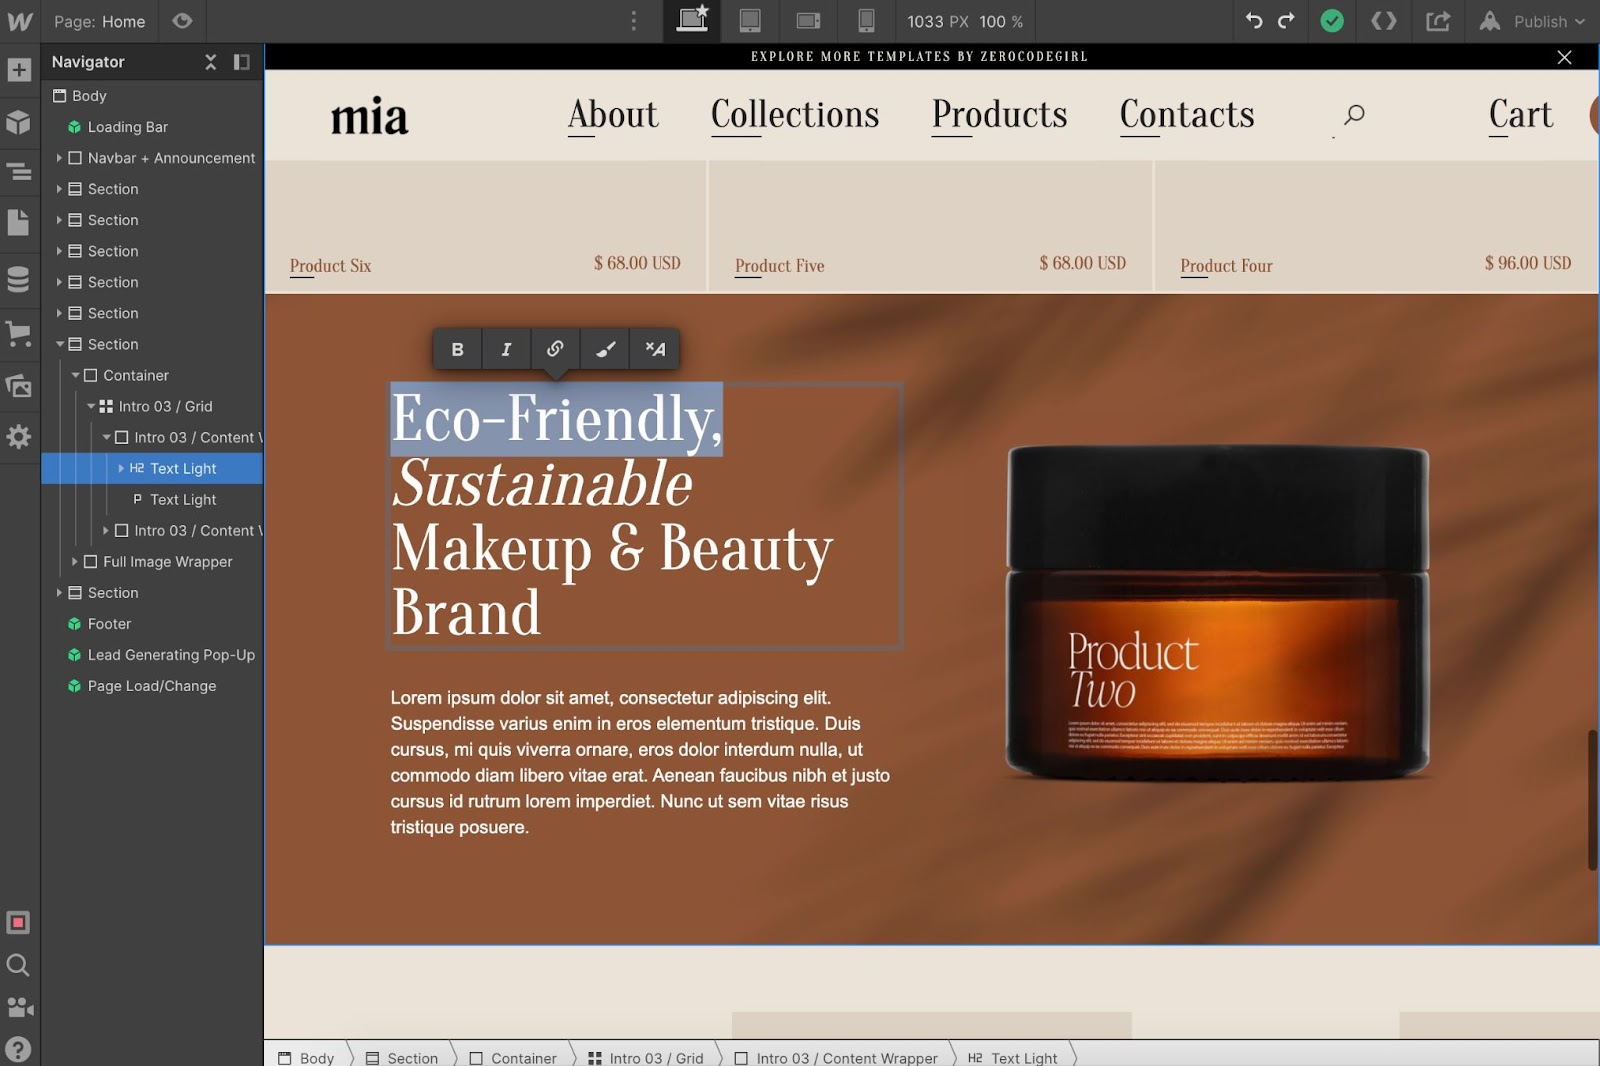
Replace Static Texts
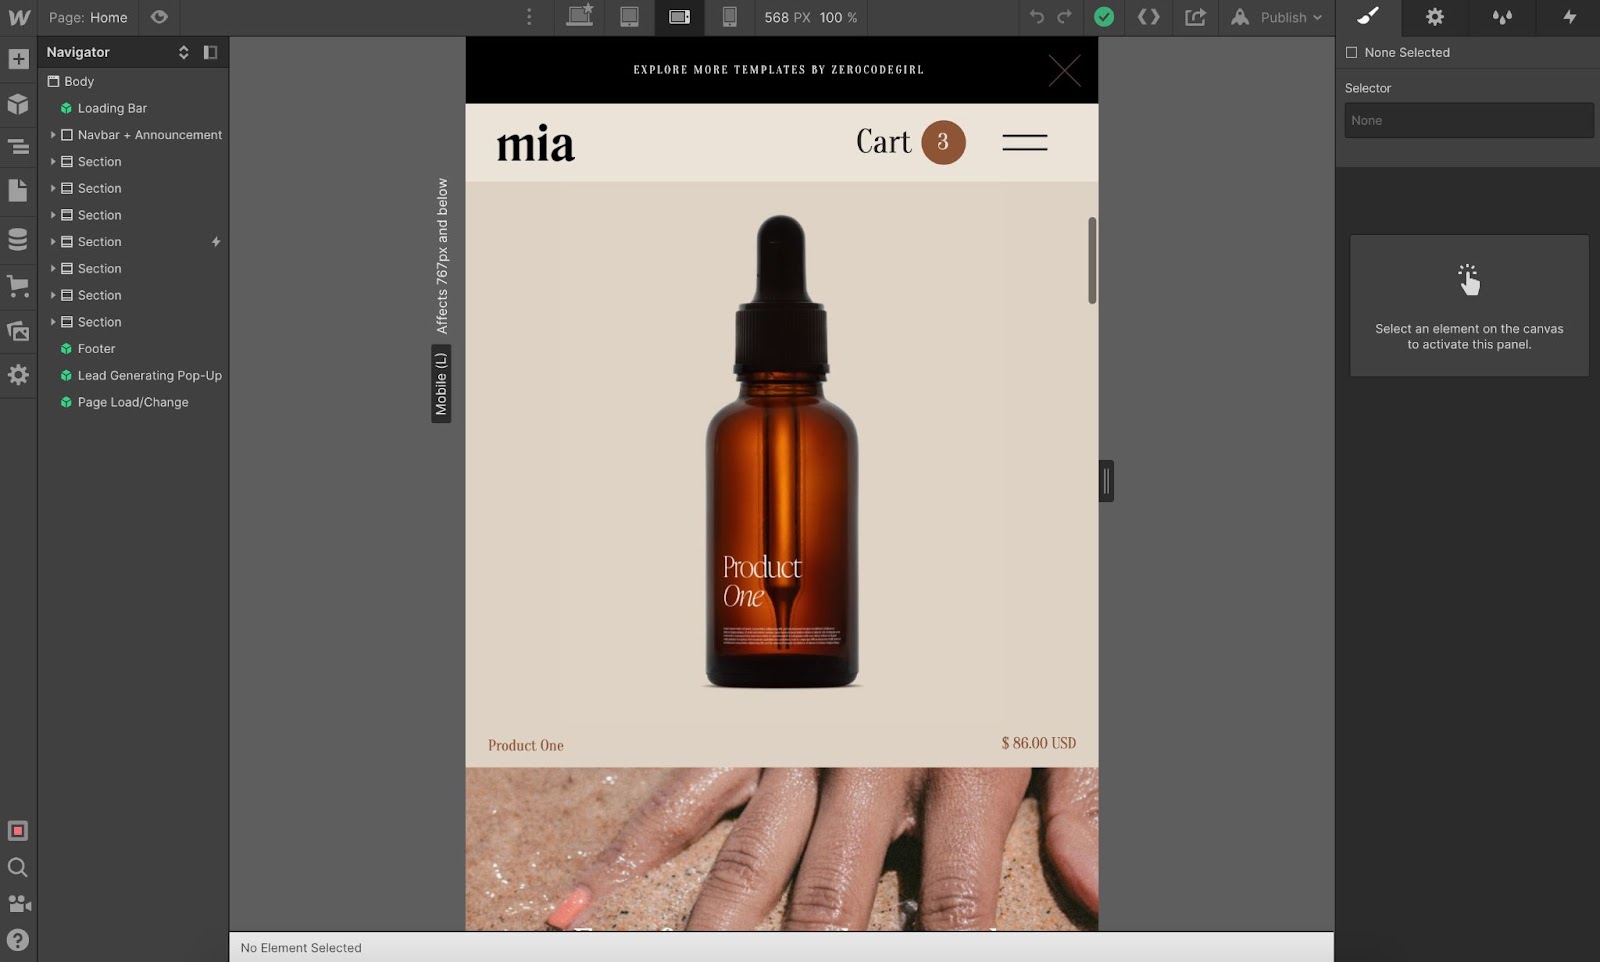
Go through all the pages and update all static texts. Most of the texts you would be able to edit by just simply clicking on the text. But there are might be situations when you will need to find the layer with the text inside the navigator to be able to edit it. If some of the texts are highlighted with a purple border once you select them, it means those are dynamic and should be updated through the CMS or Ecommerce.
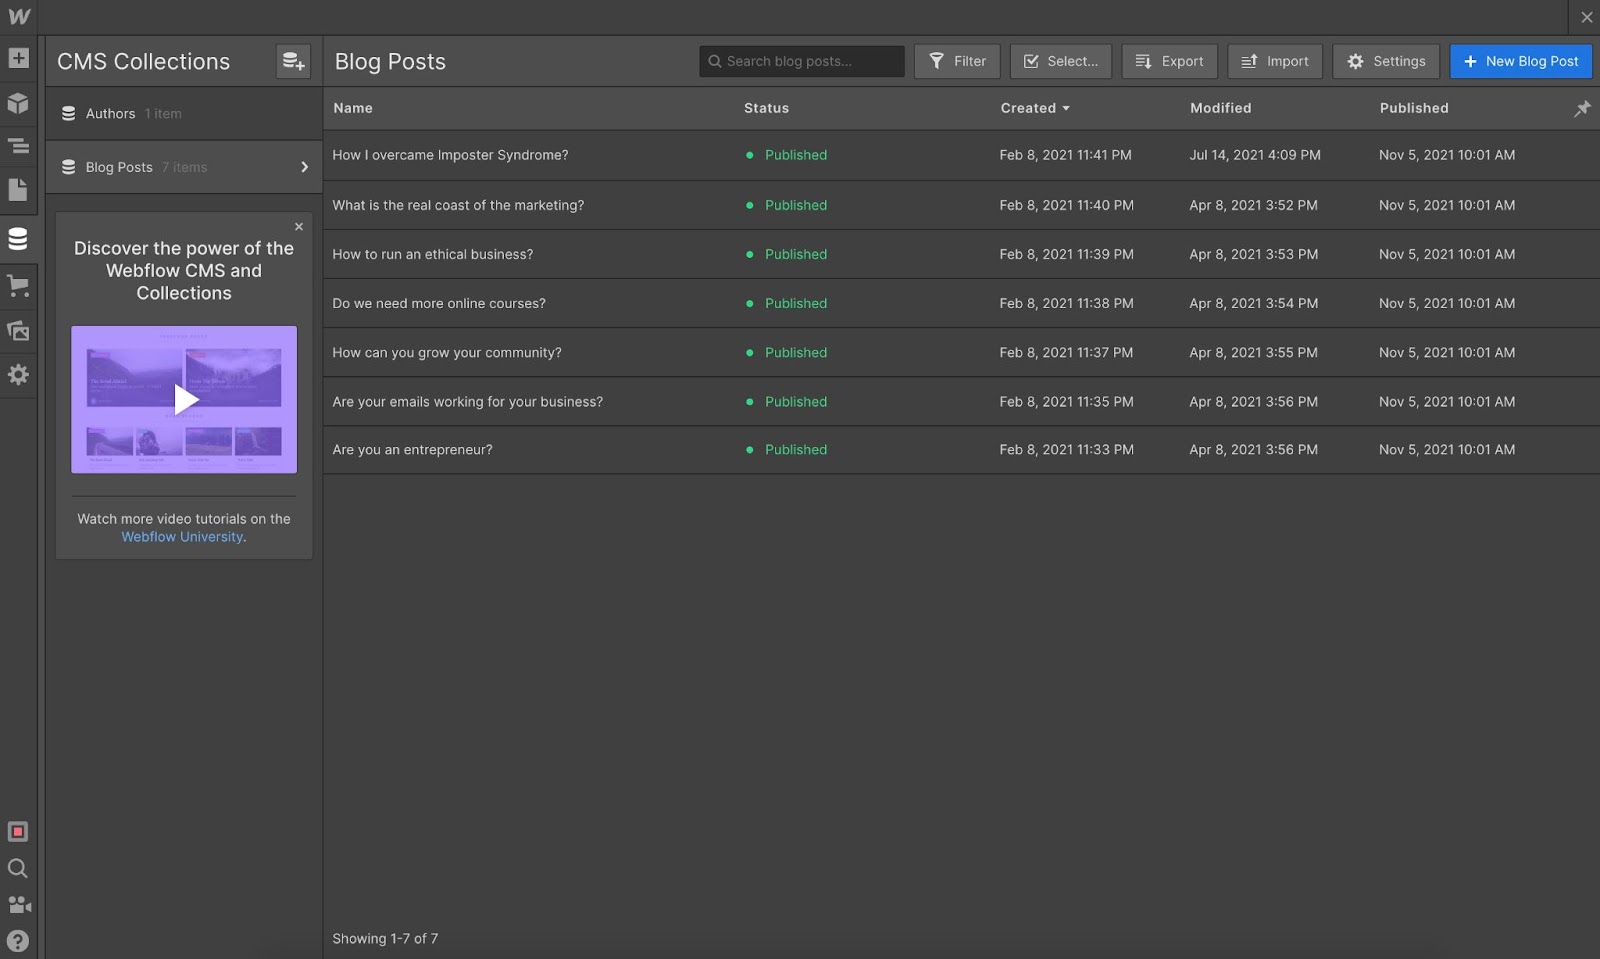
Add Dynamic Content
If the template you are using has dynamic content (CMS), for example, blog articles, projects, etc. You should go ahead and upload your real content through CMS Collections.
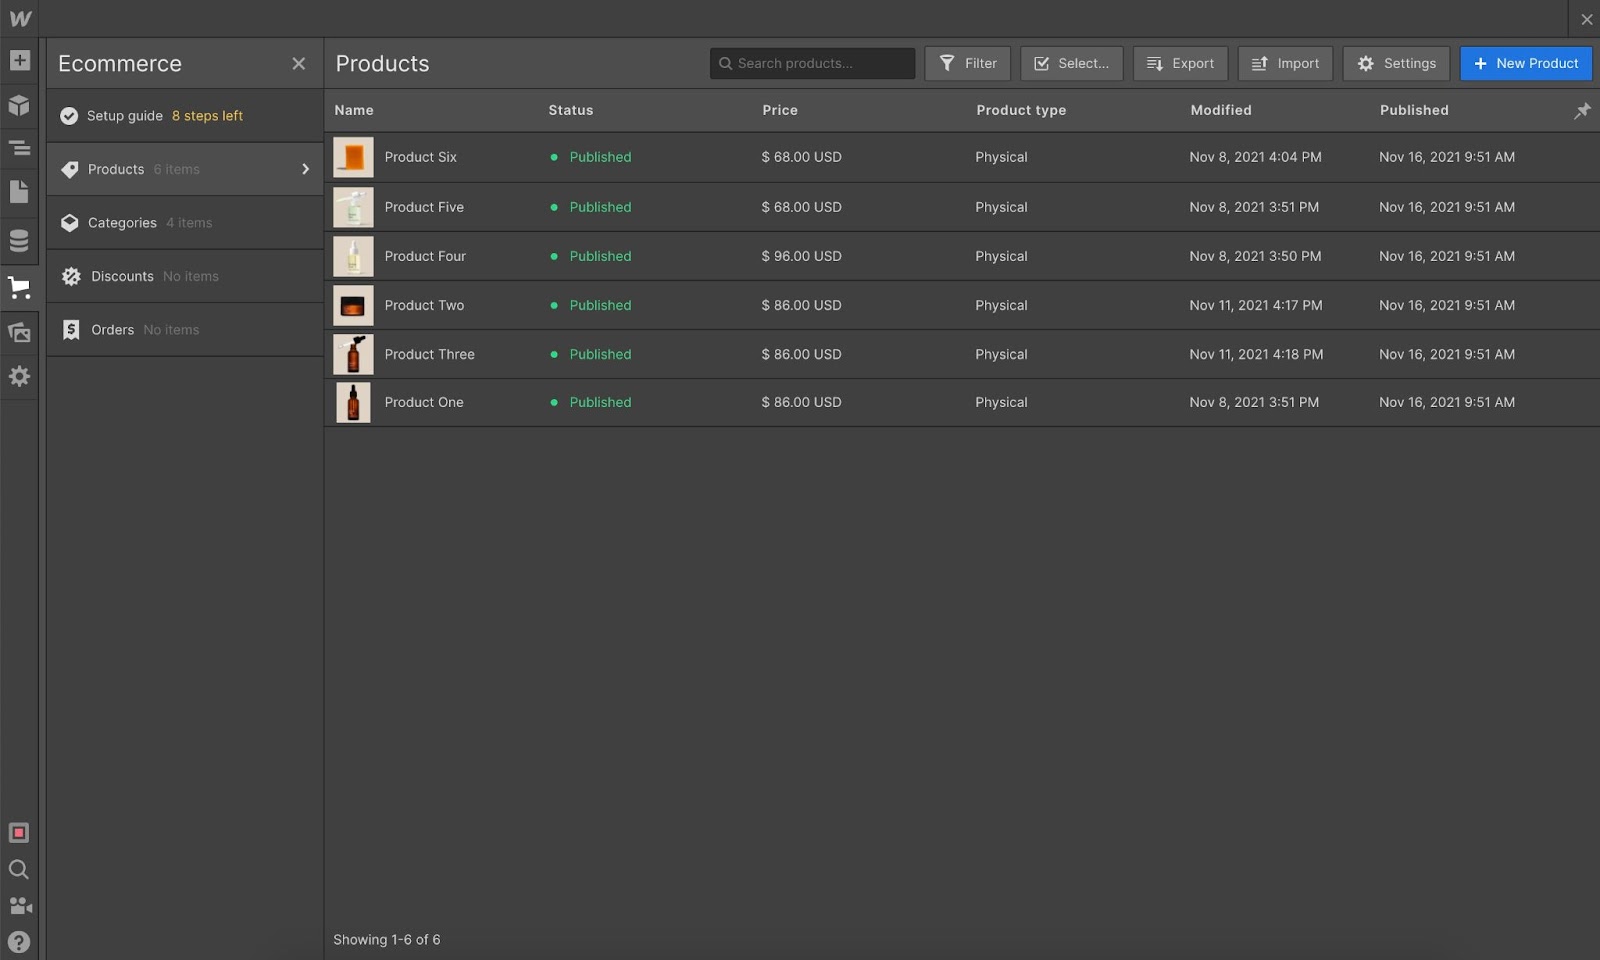
Upload Ecommerce Products & Collections
If your template has Ecommerce functionality, you should go to the Ecommerce tab and upload your Products and Categories.
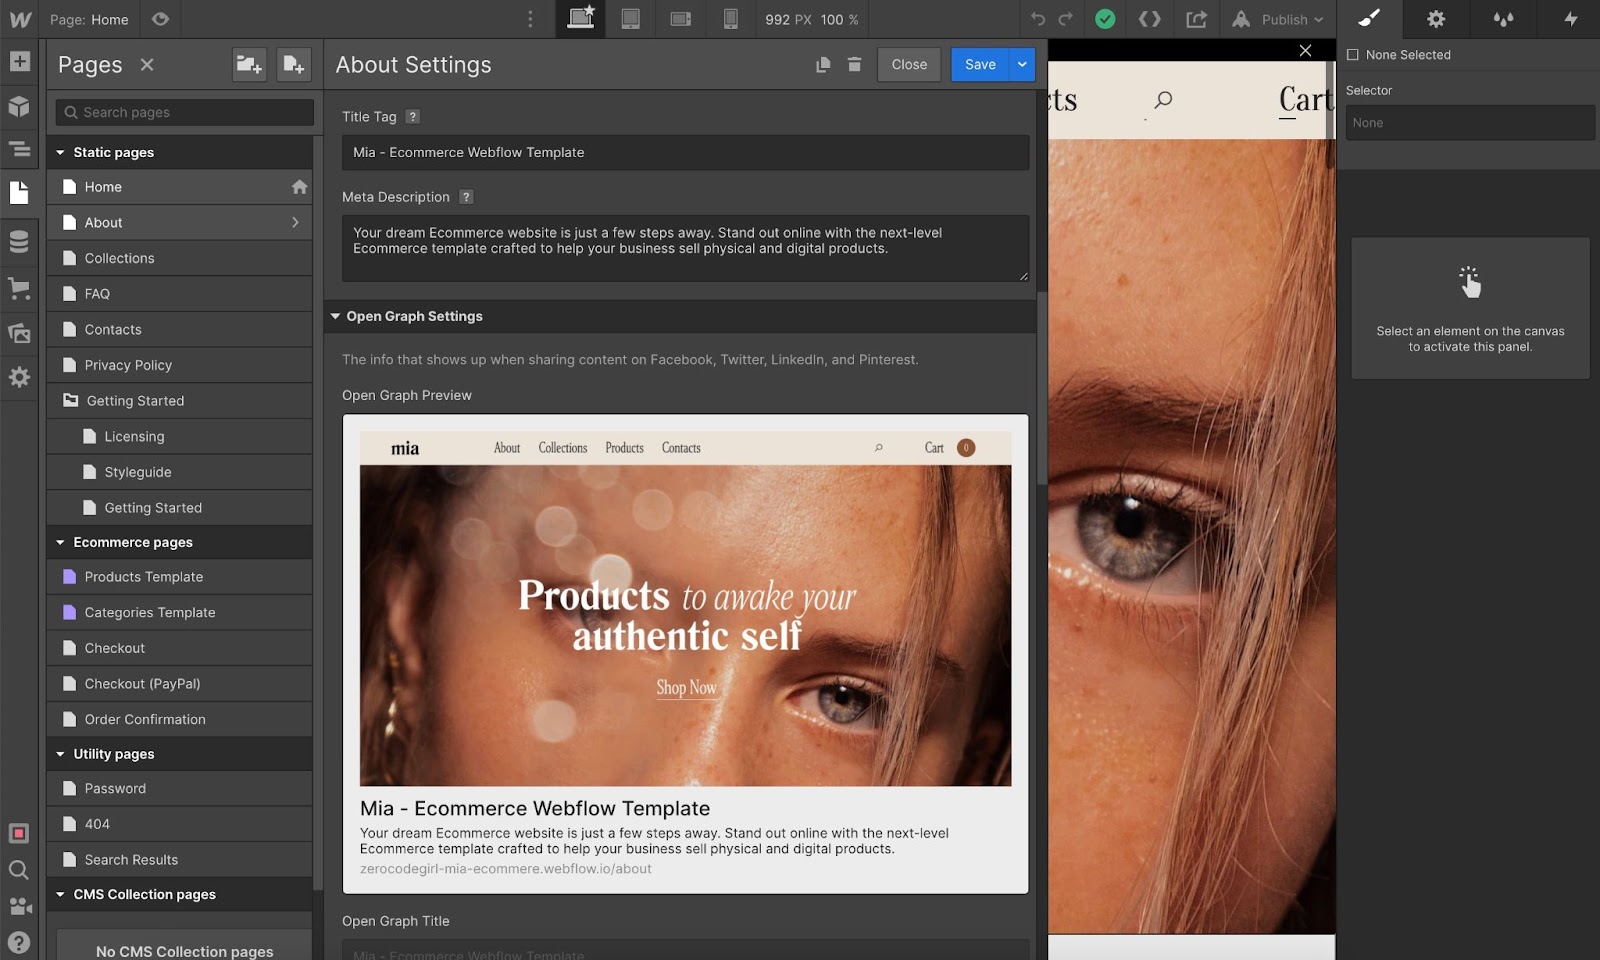
Setup SEO & Open Graph
To improve the Search Engine visibility of your website make sure you have relevant Title Tags and Meta Descriptions. You can learn more about improving SEO in Website Launch Checklist post. Open Graph is a preview of your website when somebody is sharing the link. You can upload the preview to your assets and copy the link inside the Open Graph field.
Test all The Pages
When your website is looking the way you want and all content is ready. It's the time to test all pages, check links, go through the mobile version, and all other resolution. Make sure your content is well-fitted and all important parts are looking and functioning properly.
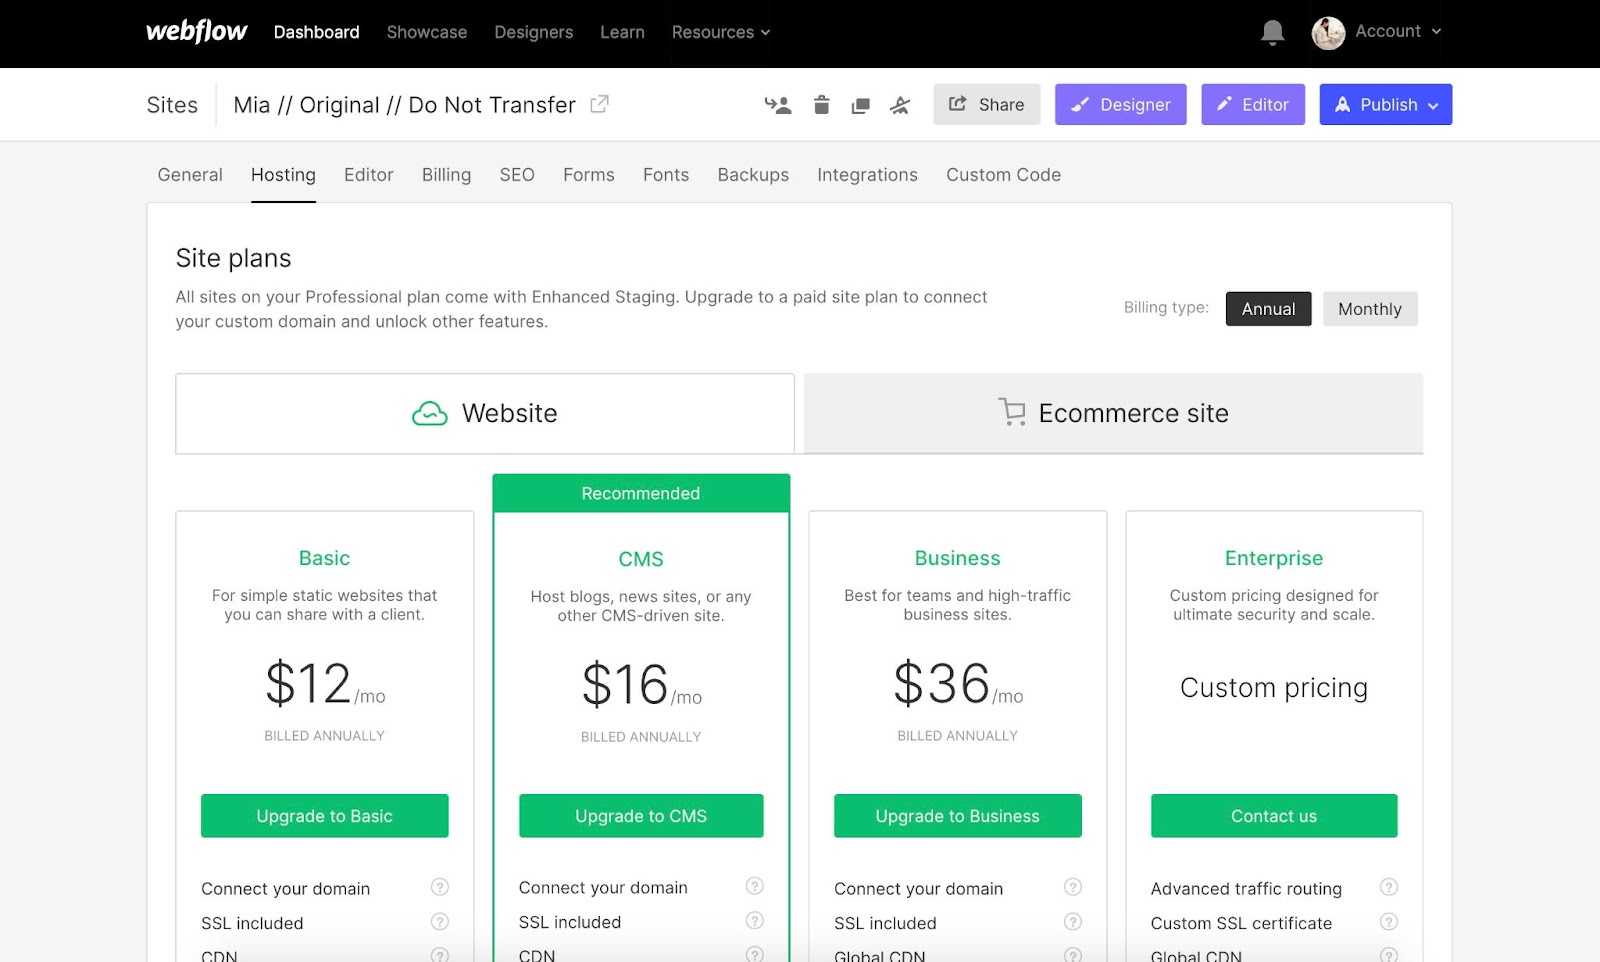
Setup Hosting
If you want to connect a custom domain or launch an online store, you will need to purchase Webflow hosting. You can find the tab Hosting under the Project Settings menu.
If your template has Ecommerce functionality but you don’t need it straight away or don’t need it at all. It is totally fine and you can keep Ecommerce pages for the future and activate them only once you are ready to launch your store. Until then you can use your website on CMS hosting and you don’t need to purchase an Ecommerce plan.
Connect Your Domain
Before you can connect a custom domain you will have to purchase any Werbflow hosting. Once you’ve done it you can find the section Custom Domains under the tab Hosting and follow the instructions to connect it to your domain provider.
Favicon, Forms, Analytics, and other settings
Before you launch your new website don’t forget to upload a favicon and connect analytics. Go through the Project Settings and make sure that you have all things sorted including the correct email to receive notifications from your forms.
Launch!
Select your custom domains and hit the Publish button!
Some Websites I've crafted with Webflow Ecommerce: